Many users think that to add an image to their web page is as simple as downloading the image from their phone or camera, uploading it to the website files, and adding it to a page. Well, technically it is that simple, but there is actually much more to using images on your website that just uploading them.
Online Image Use Guidelines & Best Practices
Here are some guidelines on how best to optimize your images for web use, and for maximum searchability too, so they become part of your website’s Search Engine Optimization (SEO) profile.
Image Names
So you find an image on your phone that you’d like to use on your website, and you save it to your computer, upload it to your site, and add it to your page. But it’s file name is something like img0015869.jpg, which means absolutely nothing to Google or any other search engine.
To make the image way more SEO-friendly, rename it something that’s relevant to the page that you’re adding it to. Just click once on the file to highlight the filename (or right-click and select rename), and type in your new name; that’s it – easy!
Image sizes
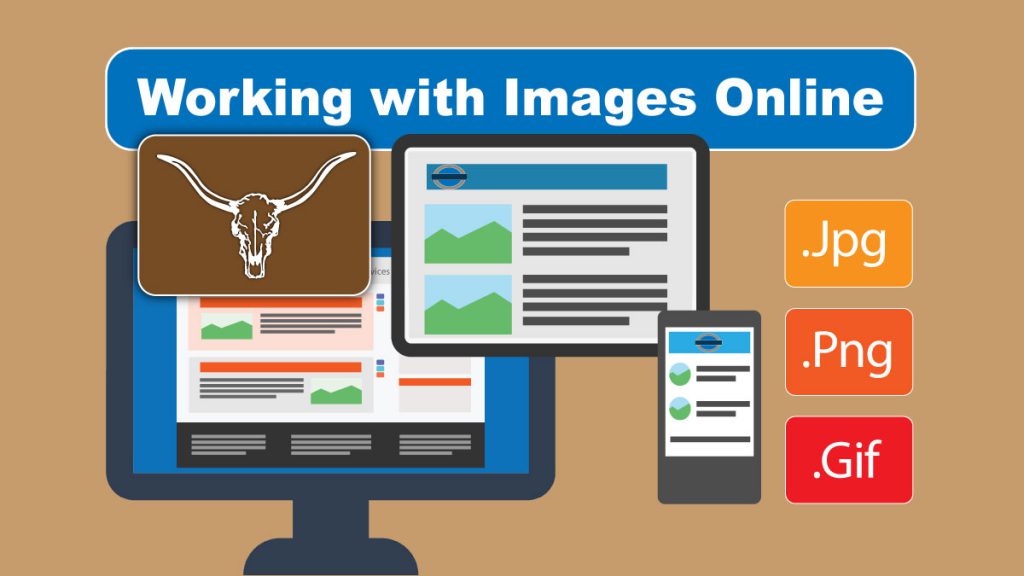
The image size of your file can have a huge effect on your website; a large file size can slow down your website’s loading speed, and a image that too large for a mobile screen to display properly is highly un-user-friendly at the very least. Both of these examples will negatively impact the SEO of your website. ideally, you need to optimize your image for web use. This means re-saving the file so that it’s physical dimensions are the correct size for where you’re placing it on your page, and also minimizing its disc size, so that it doesn’t take forever to download to a viewer’s web browser. Optimizing images for your website isn’t difficult, but in does add another step in to your website updates process. Below are some ways to do it.
Optimizing Your Images with Adobe Photoshop
If you’re fortunate enough to have access to Adobe Photoshop, all you need to do is open the image in Photoshop, select File/Export/Save for web. You then type in the required image size in the Image Size fields, select the format from the Present drop-down list (I’d suggest ‘JPEG’ & ‘High’ settings) as a good start. The click save, title your image, and save it down. this will automatically create a web-optimized image.
Optimizing Images if you don’t have Photoshop
If you don’t have Adobe Photoshop, you can use a tool like MS Paint or similar to resize, and re-save the image. There are also a range of free tools available; here are a few:
- GIMP: a free, open source image editor
- TINYPing: an online smart PNG & JPG compression tool
- JPEGMini: another online smart image compression tool
- ImageOptim: an image optimization tool for Mac users.
- Trimage: an image optimization tool for Windows users.
All of these tools are free and produce results that are more than adequate for any web project.
Alt Tags
Alt-tags, also called Alternative text or Alt-description, is a piece of HTML code that is applied to an image in order to make it SEO-readable (search engines cannot read images). Alt tags are easily added in most web platforms as they are normally a field that you fill in when you click on the image in the editor. Adding an alt-tag can have a big impact on your SEO scores.
SEO Title, Caption, and Description
Similarly, the Title Caption, and Description fields are also easily edited in most Content management Systems (CMS) these days.
Sizing Images in Your Website Editors
Most CMS editors have built-in image sizing components. In DotNetNuke for instance, they are Rich Text modules, and in WordPress, they are Image blocks.
Sizing WordPress Images
WordPress make it very easy to size your images. If you’re using a Image block:
- Place an image block and select your image.
- Click on the image in the block, and you’ll see the ‘image Size’ drop down in the right hand side bar.
- Select the size of your image from the drop down, or enter a custom size.
- Note that in these Image block controls that you can also add in your alt-text and apply rounded corners if you want them .
If you’ve added a Cover block:
- Place a Cover block and select your image.
- Click on the image in the block, and you’ll see various image-related options in the right hand side bar.
- You can enter a custom height for the image, set the central position of the image, image opacity, content position, and more.
- You can’t typically change the width of a ‘Cover’ block, unless there’s something specific in your theme that allows you to do so.
In Conclusion
Playing around with images online can be fun and creative, but remember to put some side aside to plan and get it right, otherwise, you could find that your website load speeds suffer, and of course your website SEO and page ranking.
If you’re having any problems with the images and graphics on your website, come and talk to us; we’d be happy to help!